Thank you for joining us for another Simply Sketched Saturday Challenge! We’re a small group of Stampin’ Up!® Demonstrators who fancied a new challenge to share with you all. The products used are all available in the current Annual, or seasonal, Stampin’ Up!® Catalogues. Simply use the buttons at the bottom of the post to keep hopping!
I’m back! 😀 I had to miss the last hop because I was c-r-a-z-y busy, and didn’t catch a minute, but I’m SO GLAD to be back this week 🙂 How cool were the last projects?! AWESOME. I’ve got my work cut out for me here… So without further ado, this weeks sketch was designed by the fantastic Angelina from Intatwyne Designs, so here goes;

Here is my take on the sketch…

This cute little box holds 2 Yankee Votive candles, and I love it. These are the start of some Christmas gifts I’ll be handing out this year, and I can’t wait! Here’s the how to…

I’ve used the Neutrals DSP Stack for this, and you can get the whole box from one sheet. You need a piece measuring 7 x 12 inches, and a second piece measuring 2 x 12 inches.
To make the box base, using the larger piece score along the short (7 inch)side at 1 3/4 (this is the base!), 4 & 4 7/8 inches
Rotate 90 degrees
Score along the long (12 inch) side at 1 3/4, 5 3/4, 7 1/2 and 11 1/2 inches.
Score the long 2 x 12 inch strip on the long side at the same intervals. Adhere this centrally in the 2 1/4 inch panel (the one above the base) on the larger sheet.
Burnish all fold lines.
Cut up the score lines to the 1 3/4 inch score line to make the base of the box, and remove the thin narrow (1/2 inch) bit at the end.
Put Snail Adhesive along the 1/2 inch strip and fold to make the box. (This glue line will be in the back corner)
Gently fold the top of the box down to the score line and pinch together so the front and back meet, the 7/8 inch sections should meet in the middle. Punch a handle into the top using the Medium Oval punch.
Folding the box in half, line up the punch in the Curvy Corner Trio Punch to make the ribbon slots. – TIP – Line up the edge of the layer of DSP to the outside of the guide on the punch. Repeat on all 4 folds.
Fold and glue the bottom panels with Snail to make the base, put the candles in, and close the top. Feed the White Glitter Ribbon through the ribbon slots, and tie a bow.
To finish stamp the Merry Christmas sentiment from Petite Pairs in Smoky Slate onto Whisper White, and punch out with the Large Oval Punch. Sponge edges with Smoky Slate for contrast.
Layer onto a Scalloped Oval punched from Dazzling Diamonds Glimmer Paper using Mini Glue Dots, adhere to the front of the box using Mini Glue Dots.
And that is how it’s done! I REALLY hope that makes sense to you, I tried to make it as simple as I could.

The second box is made using Whisper White with a panel of Holidays Fancy Foil Designer Vellum. I used Fast Fuse to put this one together, as it doesn’t show through the vellum, and holds cardstock better than Snail.
Right, that’s me DONE! Now you can carry on hopping along to Suzanne at Hullahbaloo, or back to Ania and her Stampin’ Cave 🙂 Have fun, and I’ll see you soon,
Debbie x0x0


SHOPPING LIST:
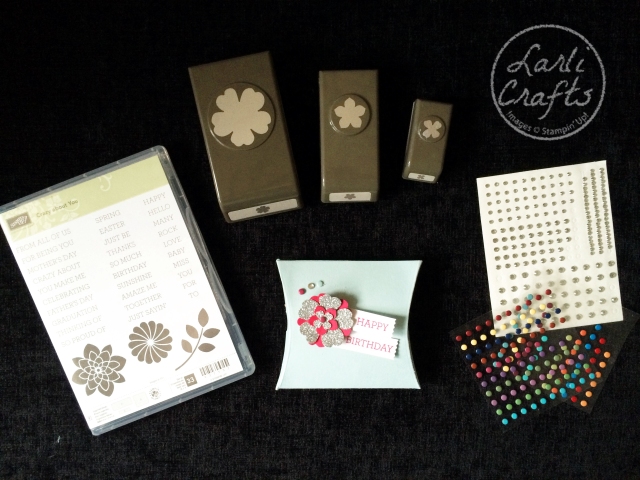
Neutrals Designer Series Paper Stack
Whisper White Cardstock
Dazzling Diamonds Glimmer Paper
Petite Pairs Stampset; Clear Mount / Wood Mount
Clear Block C
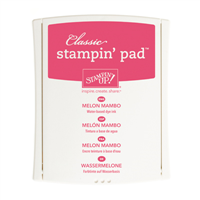
Smoky Slate Classic Stampin’ Pad
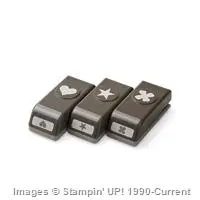
Curvy Corner Trio Punch
Large Oval Punch
Scalloped Oval Punch
Gold & White 3/8″ Glitter Ribbon
 Thank you for joining us on the first Simply Sketched Saturday Challenge! We’re a small group of Stampin’ Up!® Demonstrators who fancied a new challenge to share with you all. The products used are all available in the current Annual, or seasonal, Stampin’ Up!® Catalogues. Simply use the buttons at the bottom of the post to keep hopping!