Christmas Washi Notecards

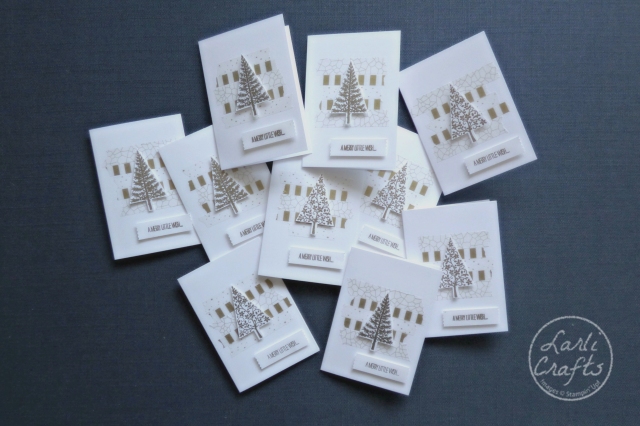
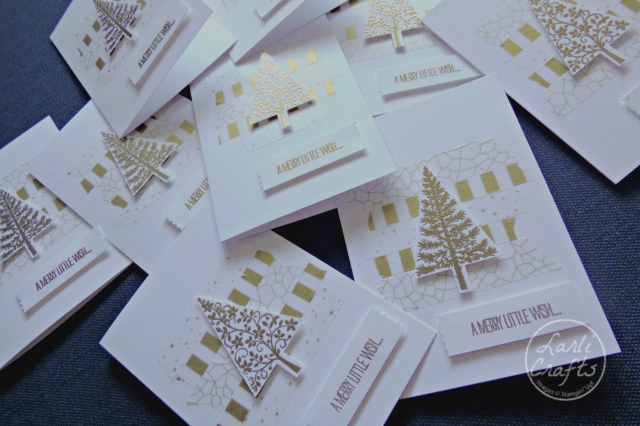
Christmas Washi Notecard

I love giving out handmade cards, and at Christmas, we give out a LOT of cards… so the simpler the better! This year I took inspiration from a project I saw on Brandys Cards last year.

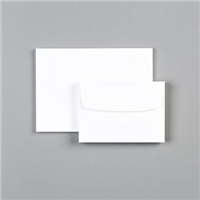
Armed with a pack of Notecards & Envelopes, and a few simple supplies I managed to whip up a set of these cards in no time at all…

It looks a lot… It’s not 😉

This is a great little assembly line project… here’s how I did mine;

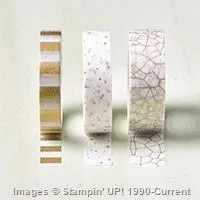
Lay strips of Winter Wonderland Designer Washi Tape onto the front of the Notecards
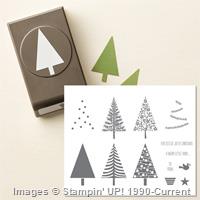
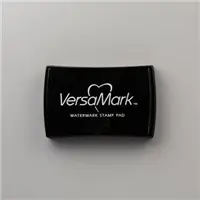
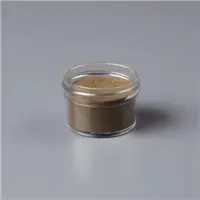
Stamp Designs from Festival of Trees Stampset in Versamark onto Whisper White Cardstock, and heat emboss with Gold Embossing Powder.
Do the same for the sentiment (I used the ‘A Merry Little Wish…’ from the same set)
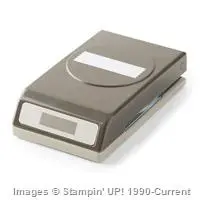
Punch out the embossed images using the co-ordinating Tree Punch and Washi Label Punch

Adhere the punched shapes to the card fronts using Dimensionals
(TIP: Use the strips from the edge of the dimensionals for the sentiments)

JOB DONE!

Christmas Washi Notelet

If you want to go one step further you could stamp the inside of the cards, with the other half of the sentiment, but I left mine blank so we have plenty of room to write a little message in each card 🙂

I made 10 of these in just a few minutes, and I know I’ll be making more… I also have a few other coordinating projects lined up, so keep your eye out!

Debs xoxo

New Beginnings… Happy New Home!

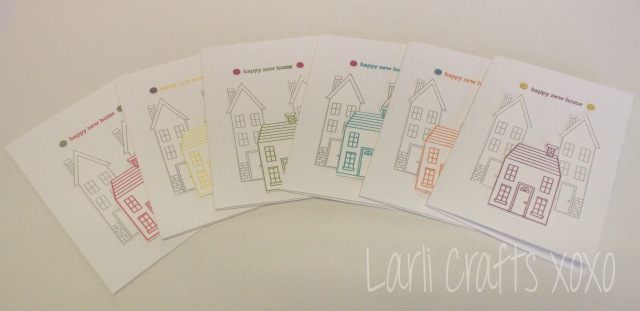
Recently I moved house, and I wanted to give friends my new address… But I wanted something a little bit more special than a text message. I wanted to get creative; so I chose to make these little note cards…

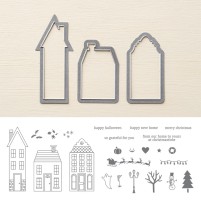
Luckily for me, the new Autumn/Winter 2014 catalogue launched just in time, and contained a lovely little stamp set called Holiday Home, with coordinating framelits, available as a bundle here with a saving of 15%!

Holiday Home Bundle 137631G

This may well be a holiday set, but, as with all things Stampin’ Up! it’s versatile, and I think it’s just perfect for this!

If you would like to make your own cards, here is how I made mine…

1 – Stamp taller houses in Smoky Slate onto Whisper White cardstock.  2 houses per card.

2 – Stamp small house in chosen ink colours (I used the brights collection). 1 house per card.

3 -Using your Big Shot cut all houses out with co-ordinating Framelits die. I roughly trimmed my sheet down, and held the die in place using washi tape. (The Magnetic Platform is on my wish list!)

4 – Adhere 2 taller houses towards the bottom of card base using Mini Glue Dots.

5 – Place a smaller house over the two taller ones,  adhered with Stampin’ Dimensionals to add height.

6 – Stamp “Happy New Home” sentiment at the top of the card in matching ink colour, with contrasting Candy Dots on either side.

That is your card done!

However, I wanted to add a little something to the envelopes too! So…


1 – Stamp smaller house stamp at an angle on the lower corner of envelope in coloured ink (I used the same as I had on the card).

2 – Mask off the coloured stamp using a spare cut out (I cut another house from scrap cardstock, and held it over the edge with a piece of washi tape)

3 – Using the taller house stamp, and Smoky Slate ink, stamp over the masked house, to create the impression of a layered effect similar to the cards.

All done! Now I have a coordinating set of New Home cards and envelopes 🙂

Products used

Stamp Set: Holiday Home (Bundle)

Cardstock: Whisper White Note Cards and Envelopes, Whisper White

Ink: Smoky Slate Classic Stampin’ Pad, Brights Classic Stampin’ Pads

Embellishments: Brights Candy Dots

Adhesives: Mini Glue Dots, Stampin’ Dimensionals

Equipment: Big Shot Die Cut Machine

If you have any questions or queries, please feel to contact me below, or via my Facebook page.

Happy Crafting!

Debbie x

Don’t forget this week is the Stampin’ Up! Stamp, Stock & Save promotion running from 1-6th October!

Main_SSS_OLO_10.1-6.2014_US